
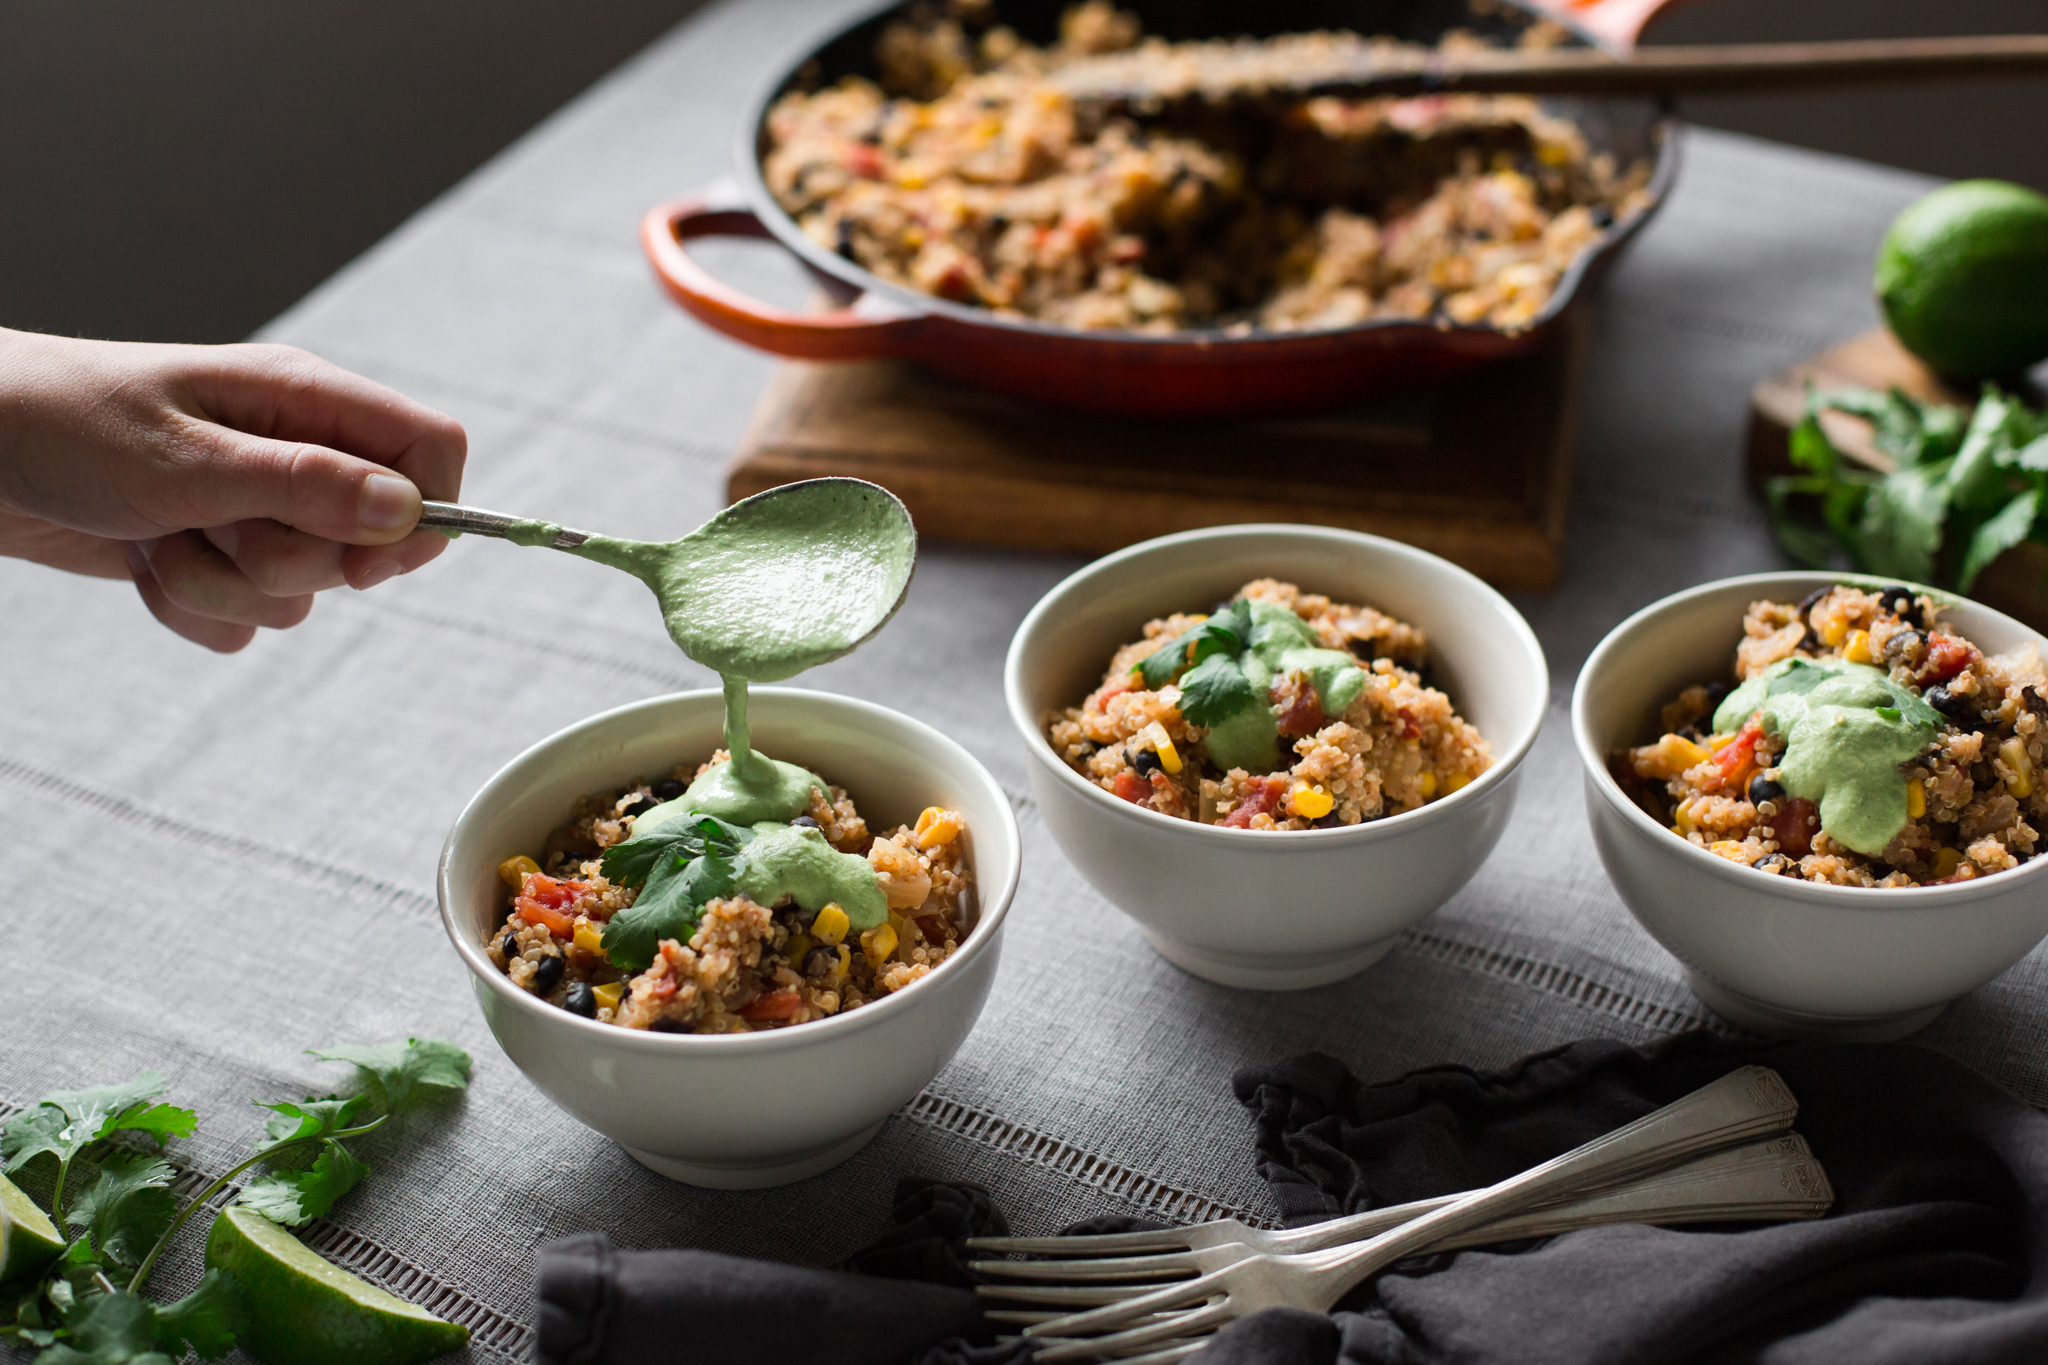
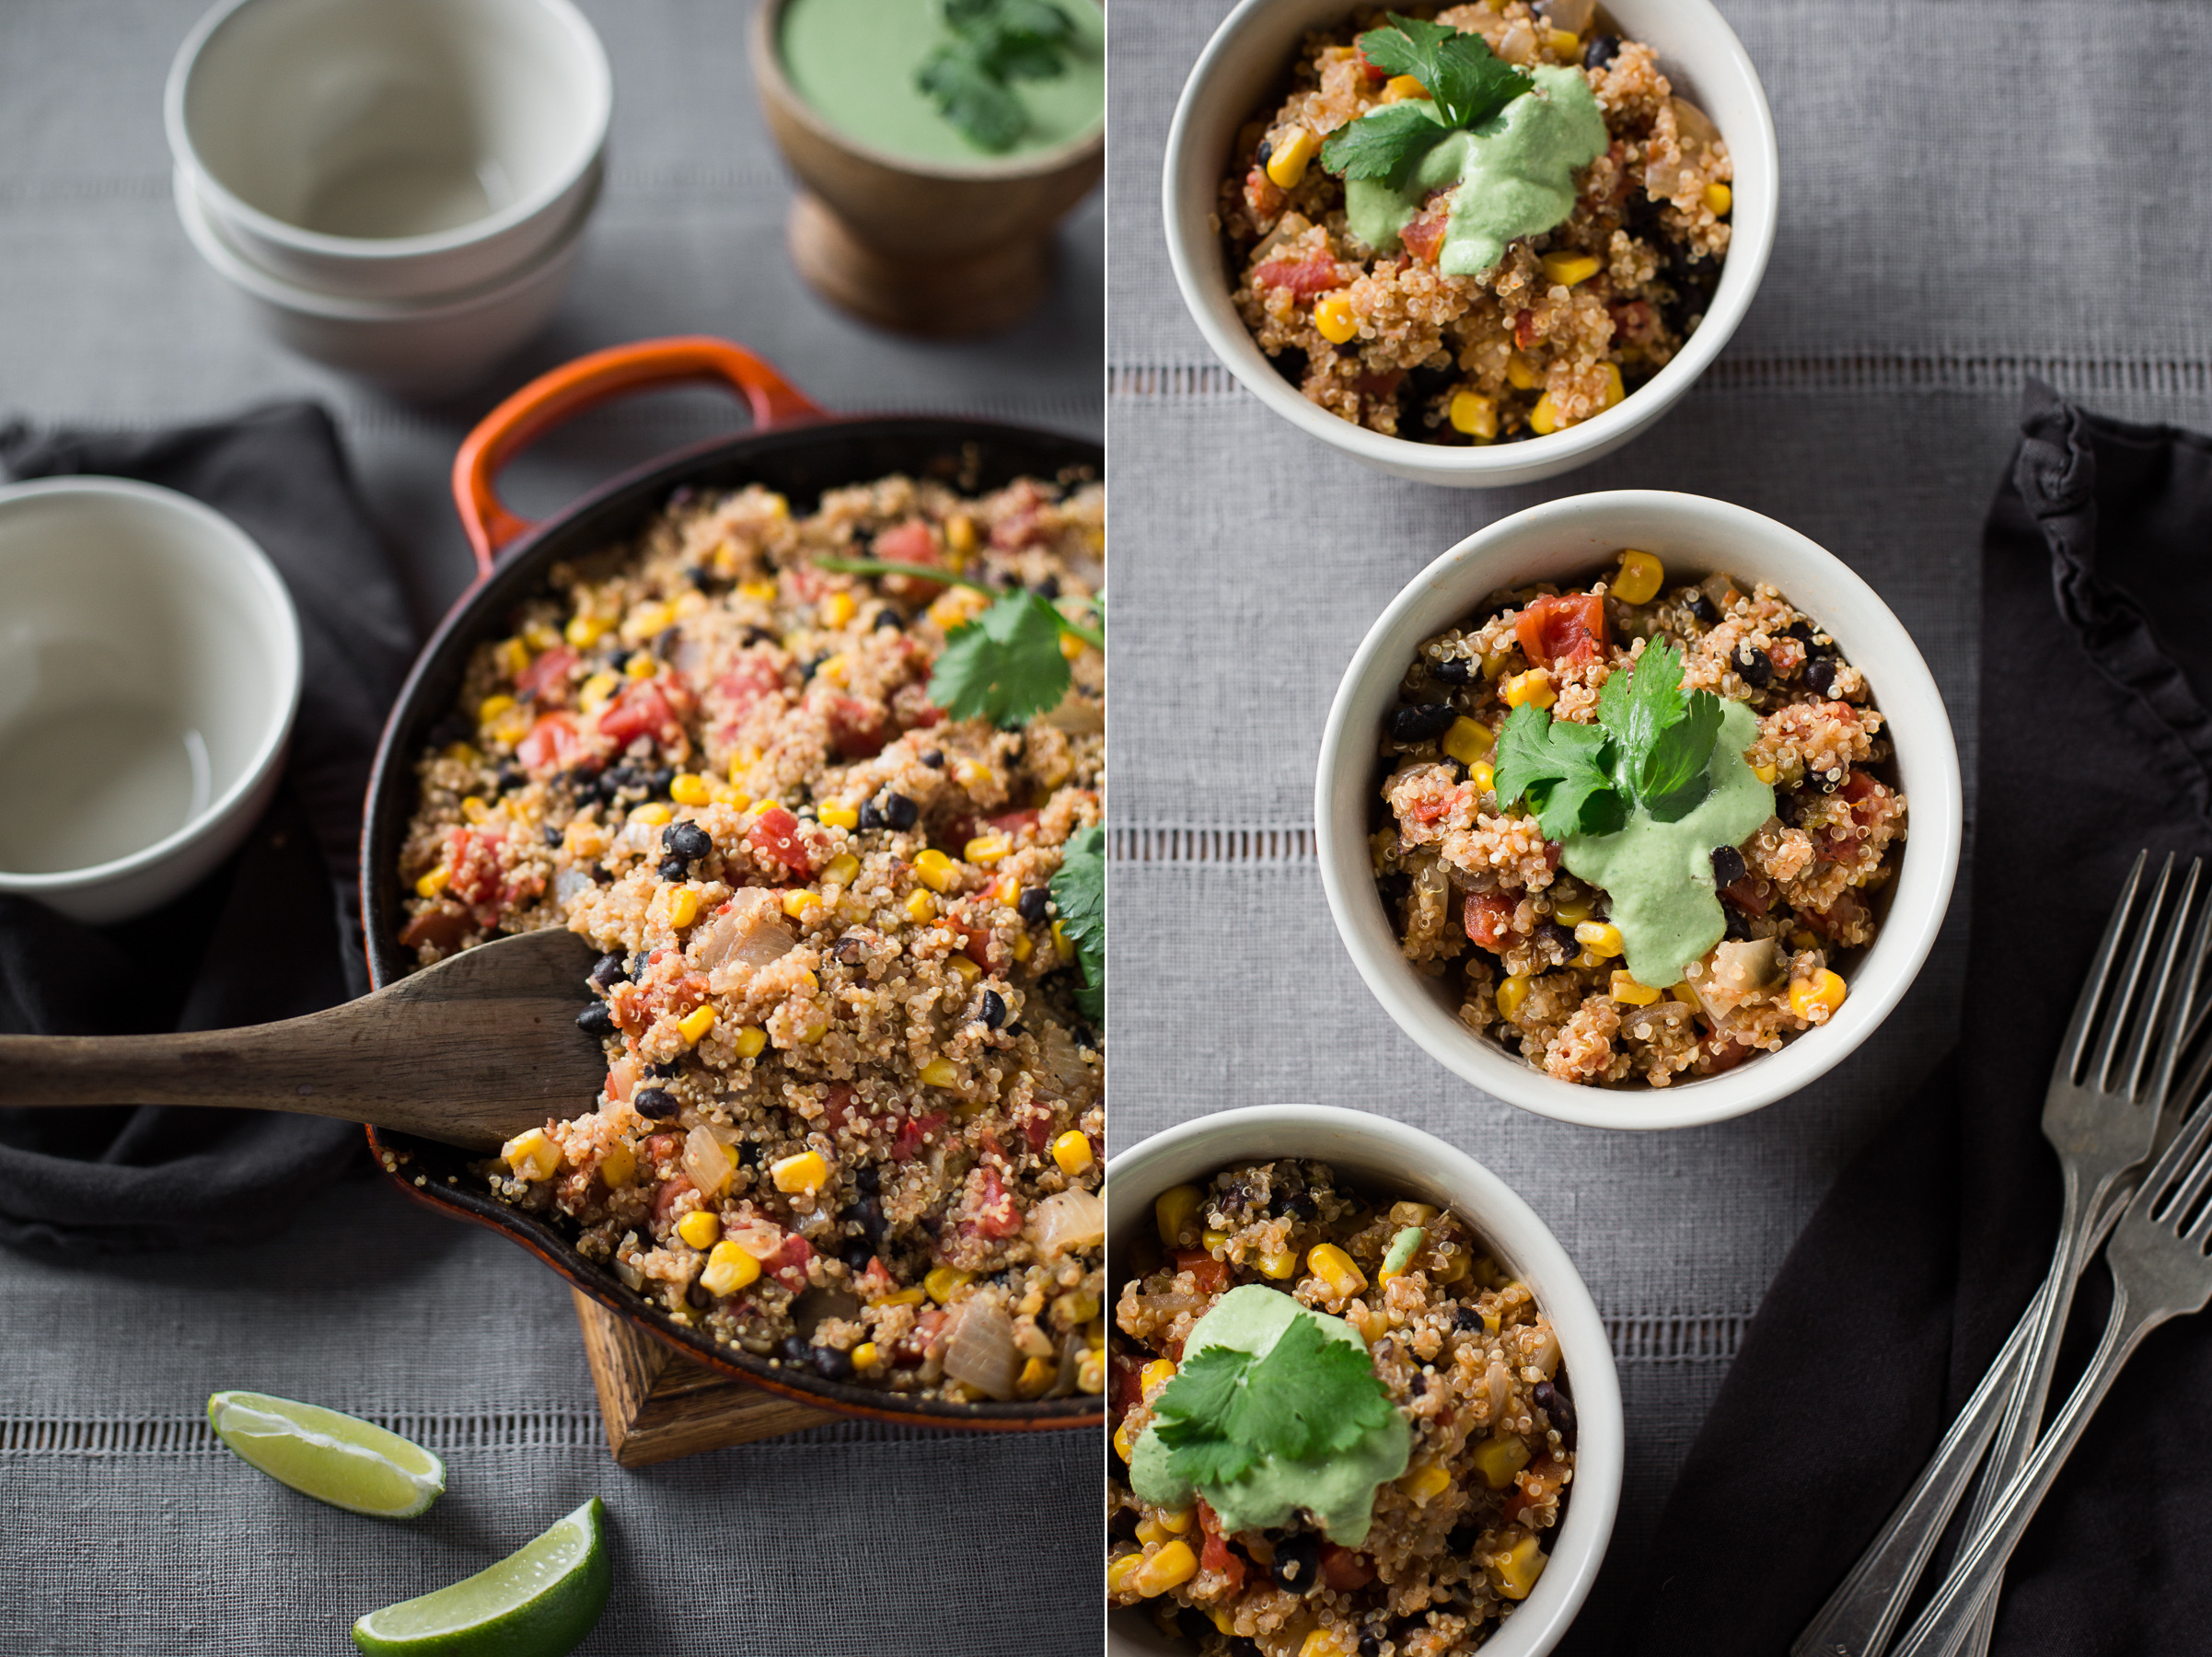
Vegan Skillet Quinoa with Cilantro Cashew Dressing
Today I’m bringing you this very simple and delicious one skillet vegan quinoa recipe with Muir Glen…plus a few helpful tips on photographing food using just natural light.
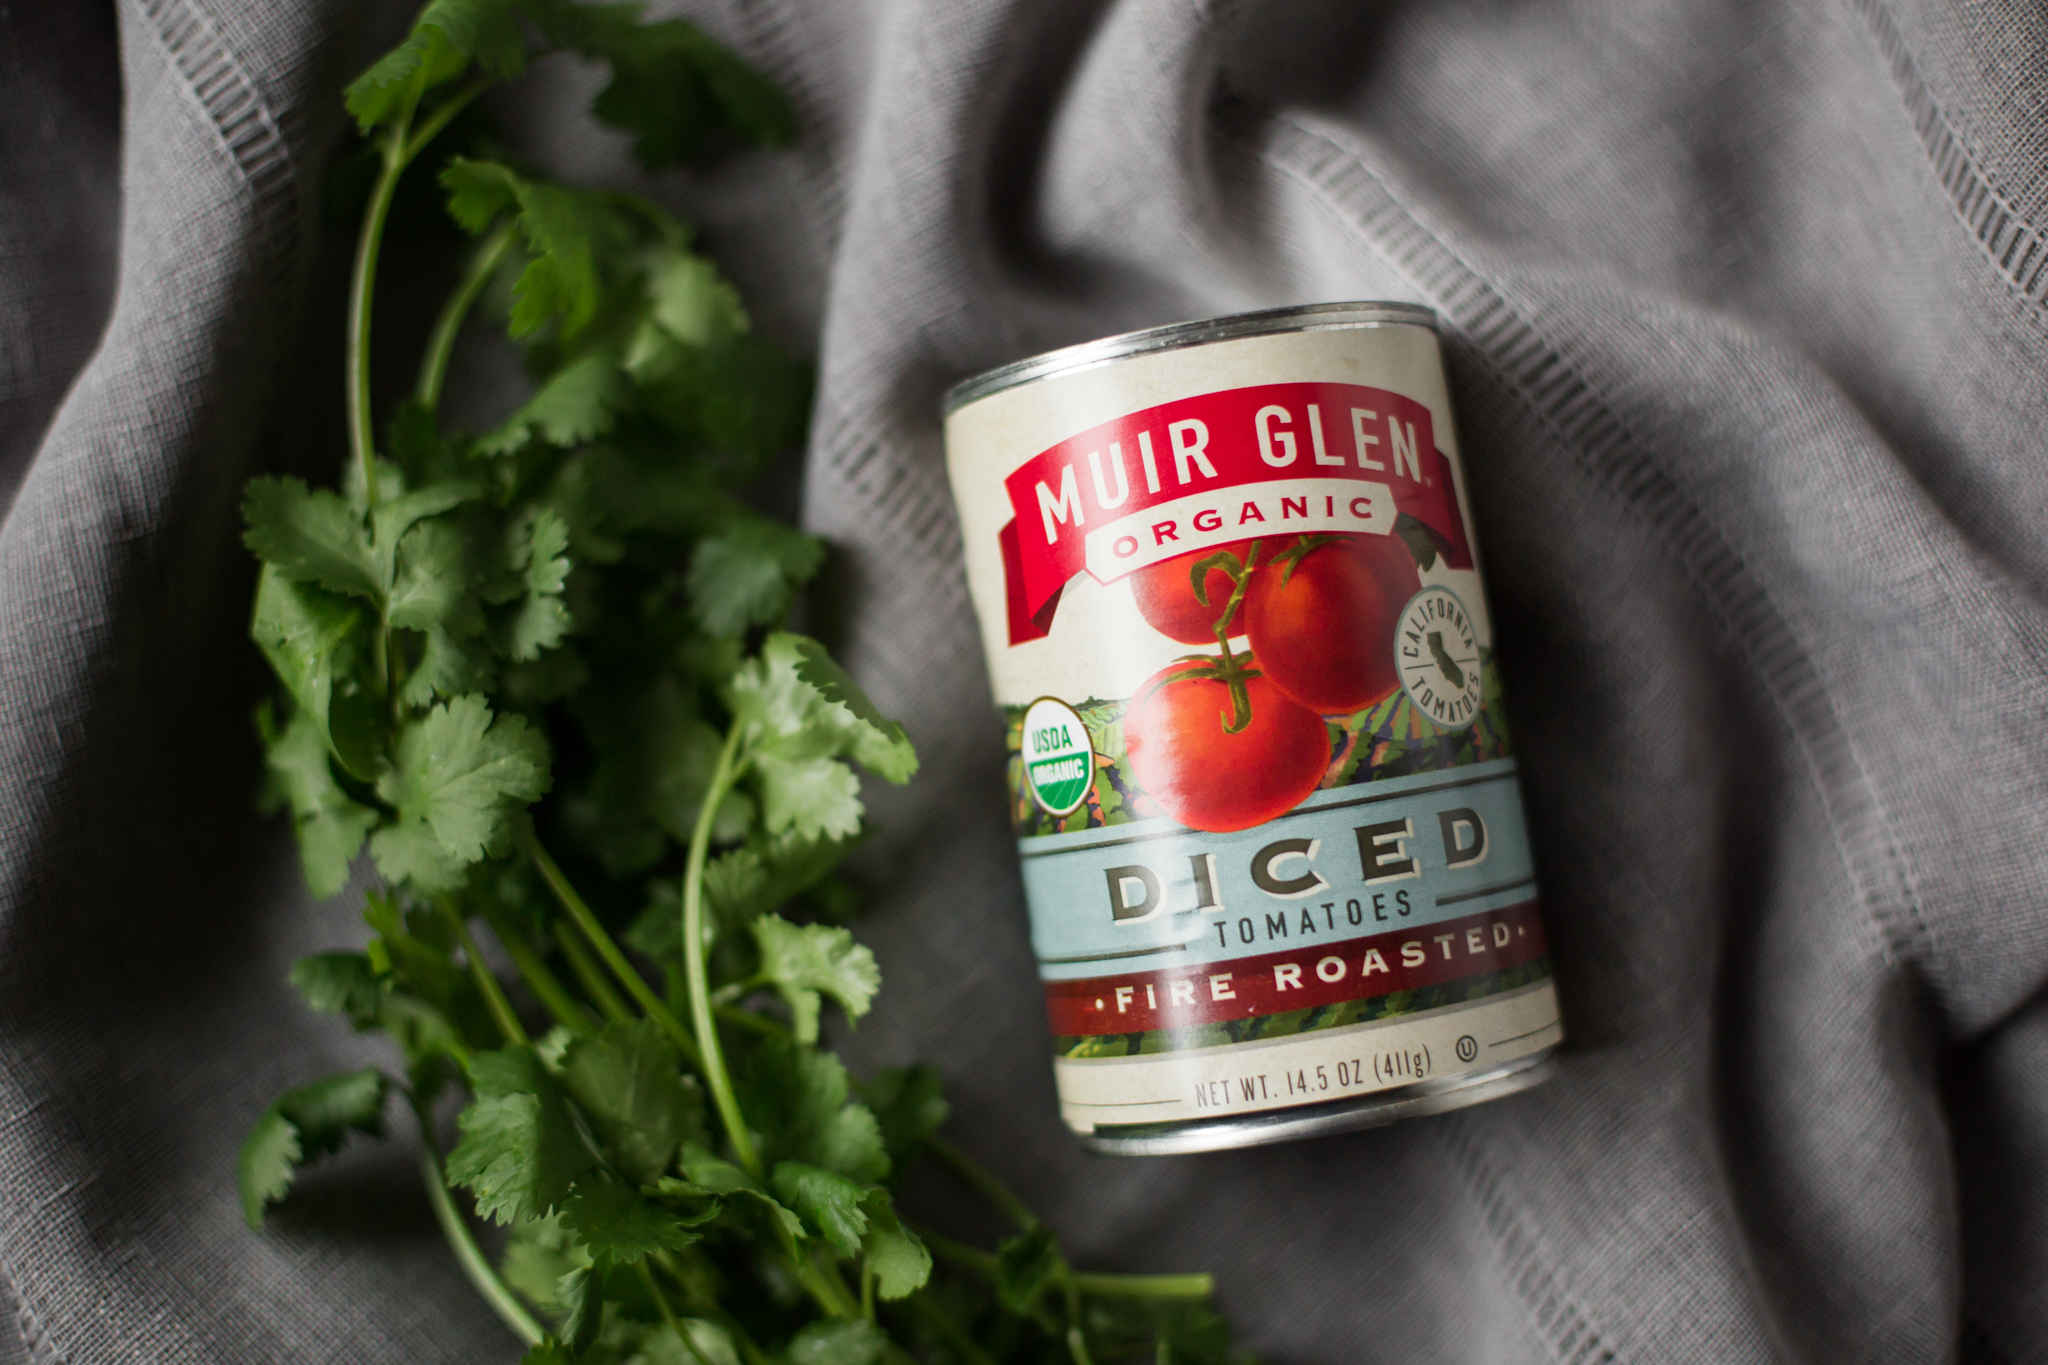
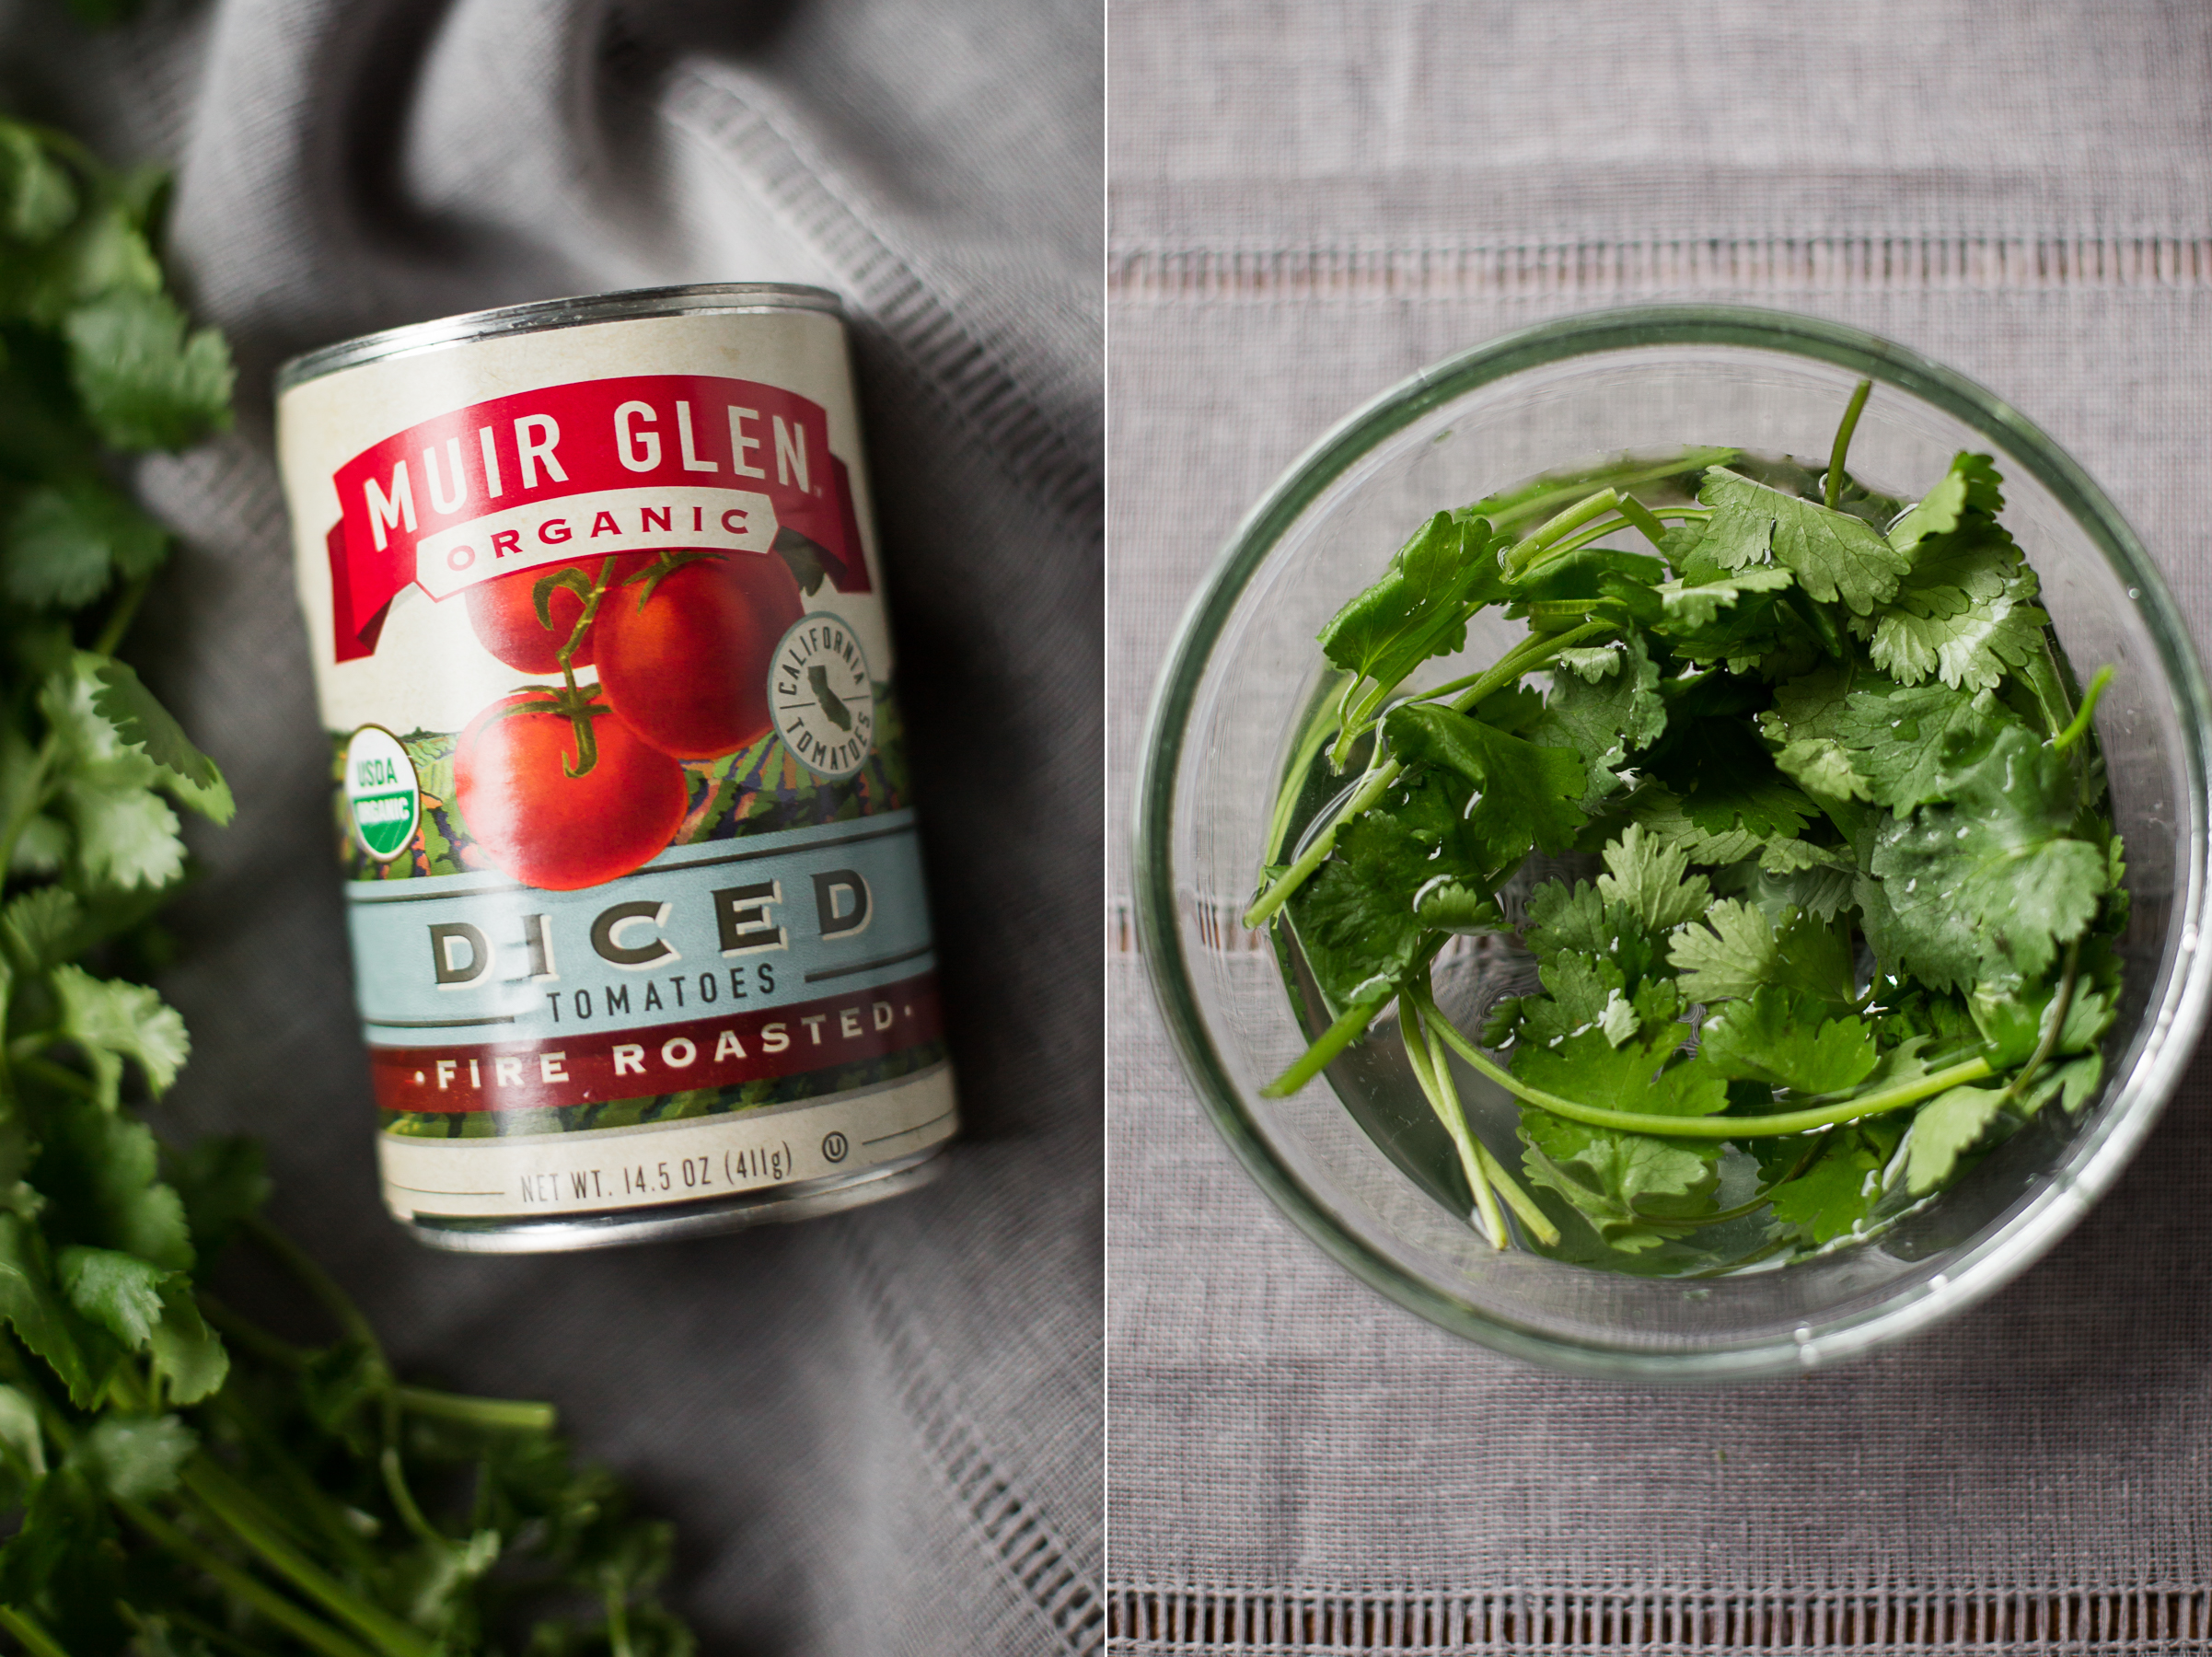
 Our family loves to grow our own tomatoes but during the colder months, I know I can use Muir Glen and still maintain that sweet summer taste. Their organic tomato products are grown in the Sacramento Valley of California and they use local pollinators to maintain a healthy ecosystem. They are also a zero waste operation, which means any tomatoes that aren’t good enough for their customers, go straight to compost and back into the earth. A finished dish only tastes as good as the ingredients used, so I’m conscious of what I use and where I source it.
My favorite places to look for the very best quality ingredients are my own backyard, the local Olympia farmers market and the Olympia Food Co-op. Supporting local farms and co-ops is a win win because I get the highest quality ingredients, while also investing in my community.
You’ll surely make this Vegan Skillet Quinoa with Cilantro Cashew Dressing over and over again…
 Vegan Skillet Quinoa with Cilantro Cashew Dressing:
Prep time 15 minutes | Cook time 45 minutes | Serves 6
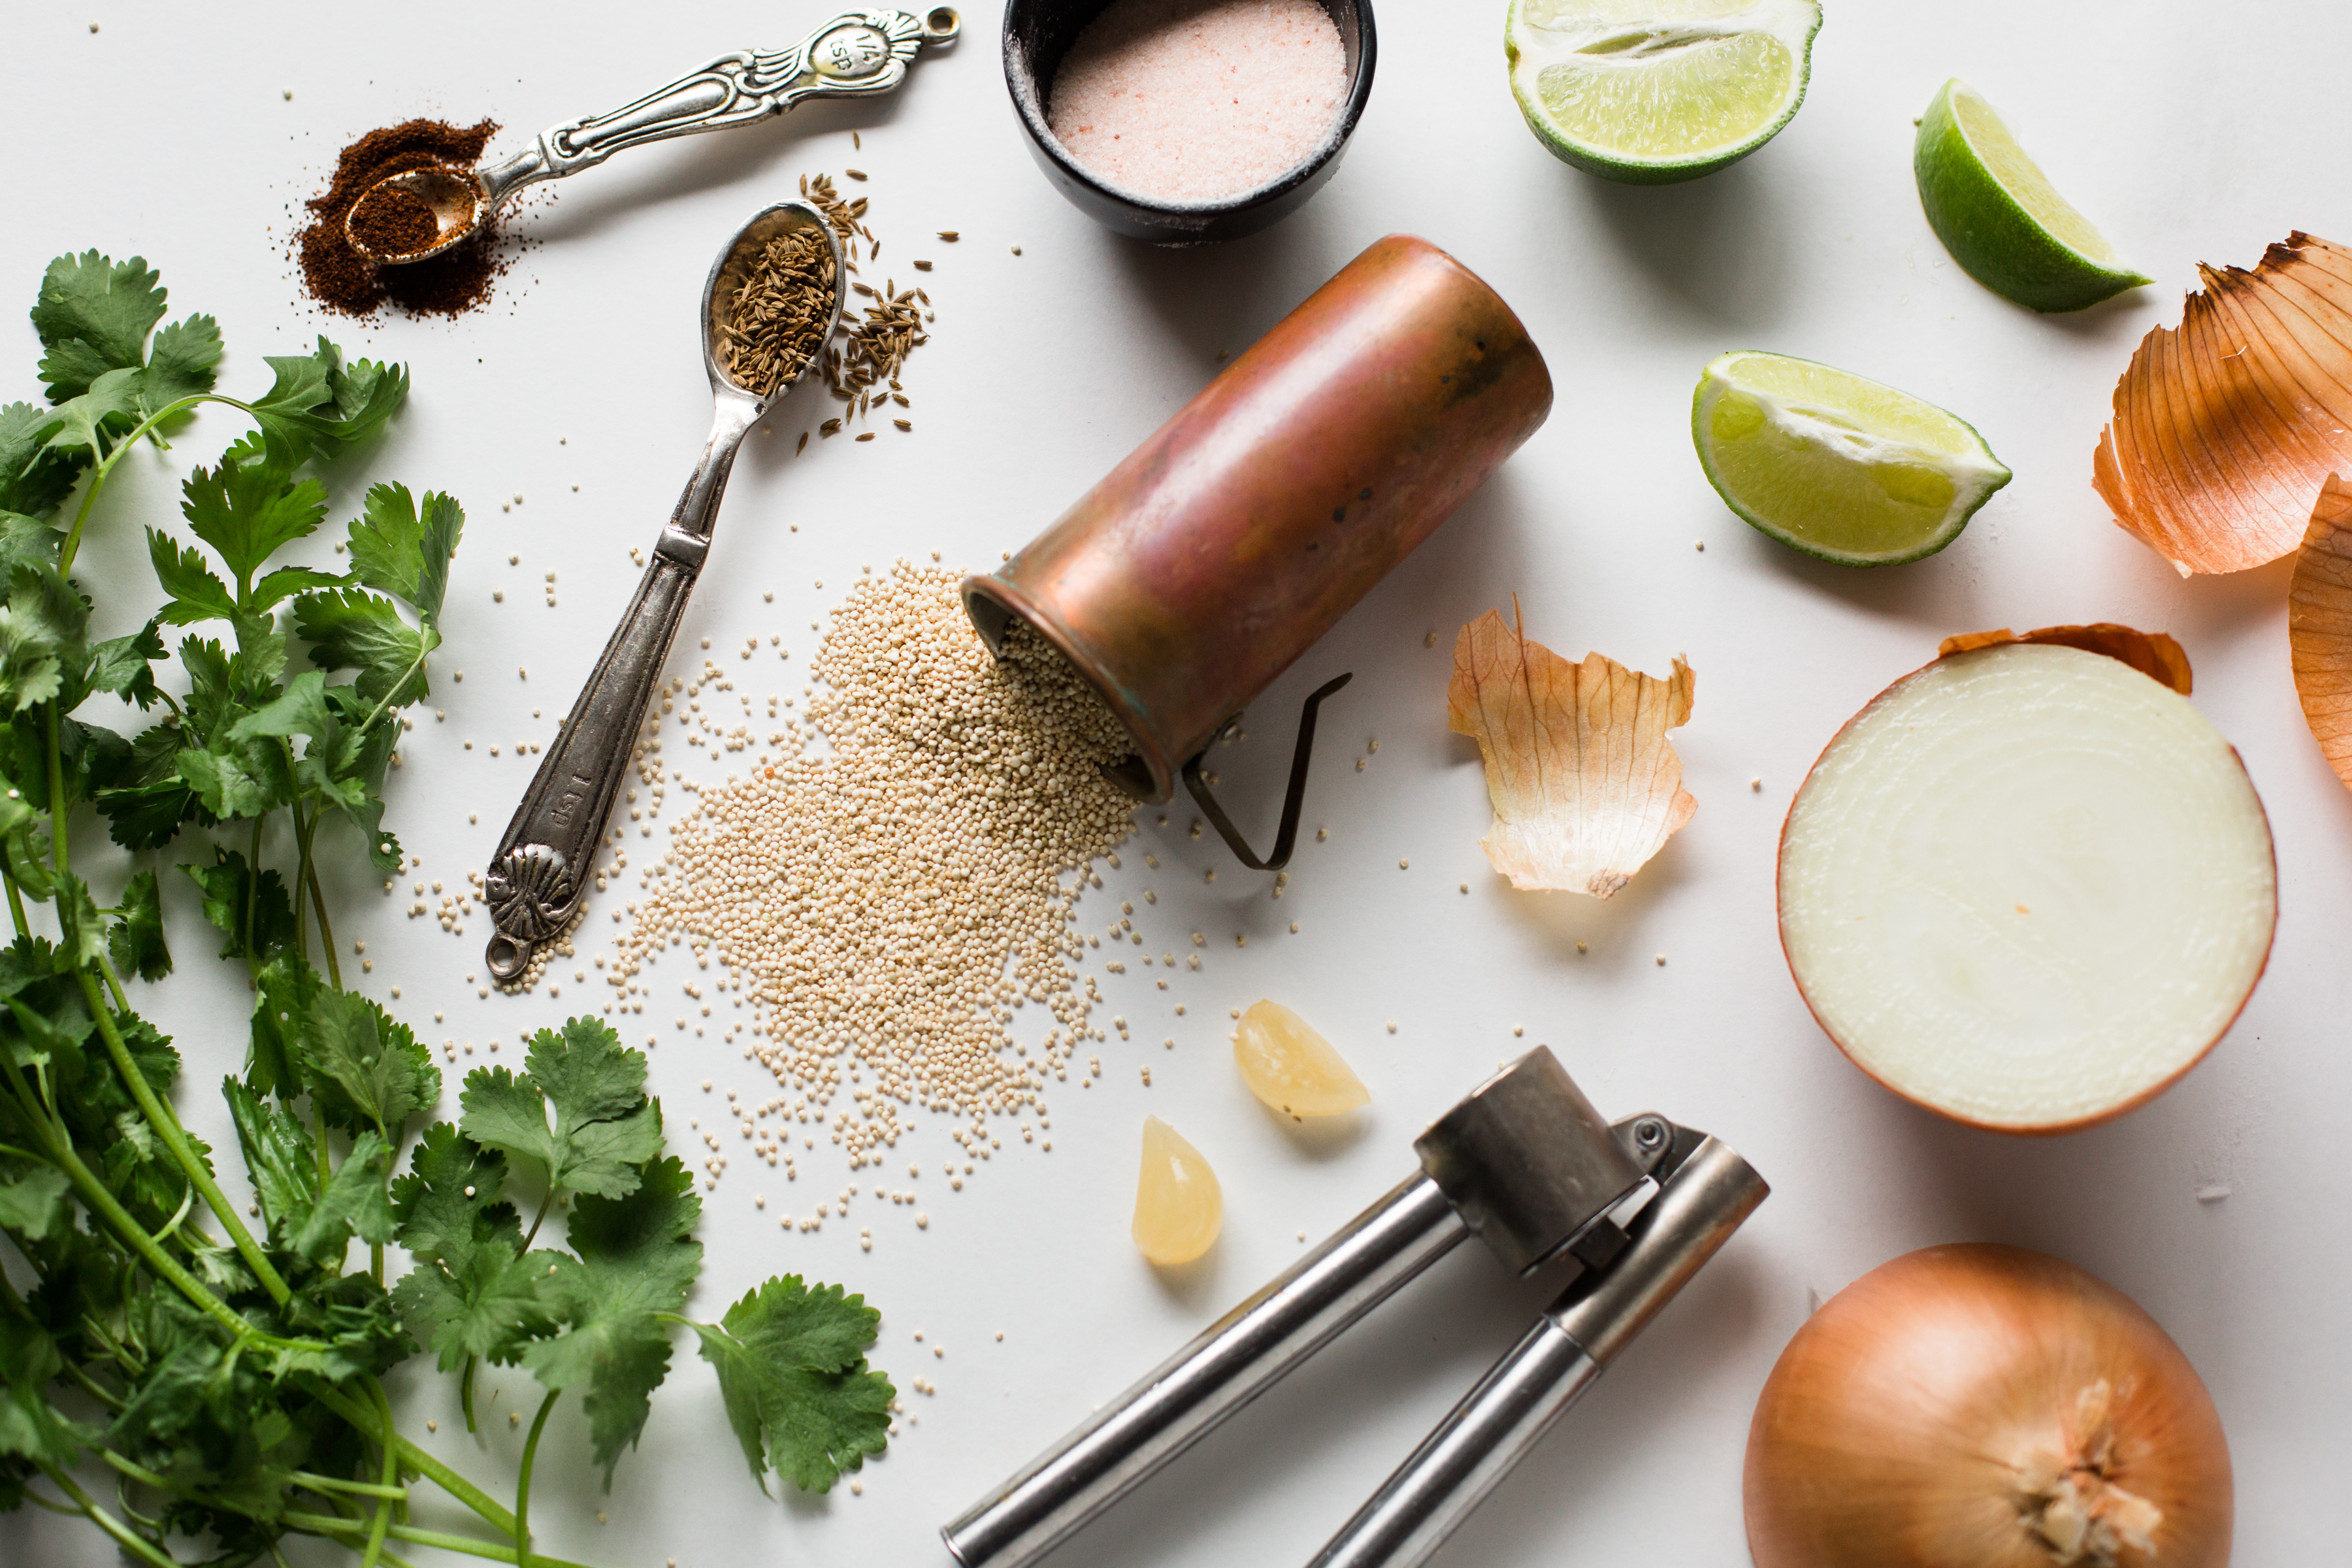
Skillet Quinoa (note: You may want to prepare the cashew dressing ahead of time. Recipe below):
1Tbs olive oil
1 tsp whole cumin seed
1 small yellow onion, diced or 1/2 of a large, diced
1 15 oz can of corn, drained
1/2 tsp chili powder
1/2 tsp crushed coriander seed (whole seeds that you crush with mortar and pestle or chef’s knife)
1 pinch of sea salt (more to taste)
1 4 oz can diced green chilis
2 cloves of garlic, pressed
1 14 oz can Muir Glen organic diced tomatoes with their juices
juice from 1/4 of a lime
1 14 oz can whole black beans, drained and rinsed
1 Cup dried quinoa, rinsed
1 1/2 Cups filtered water
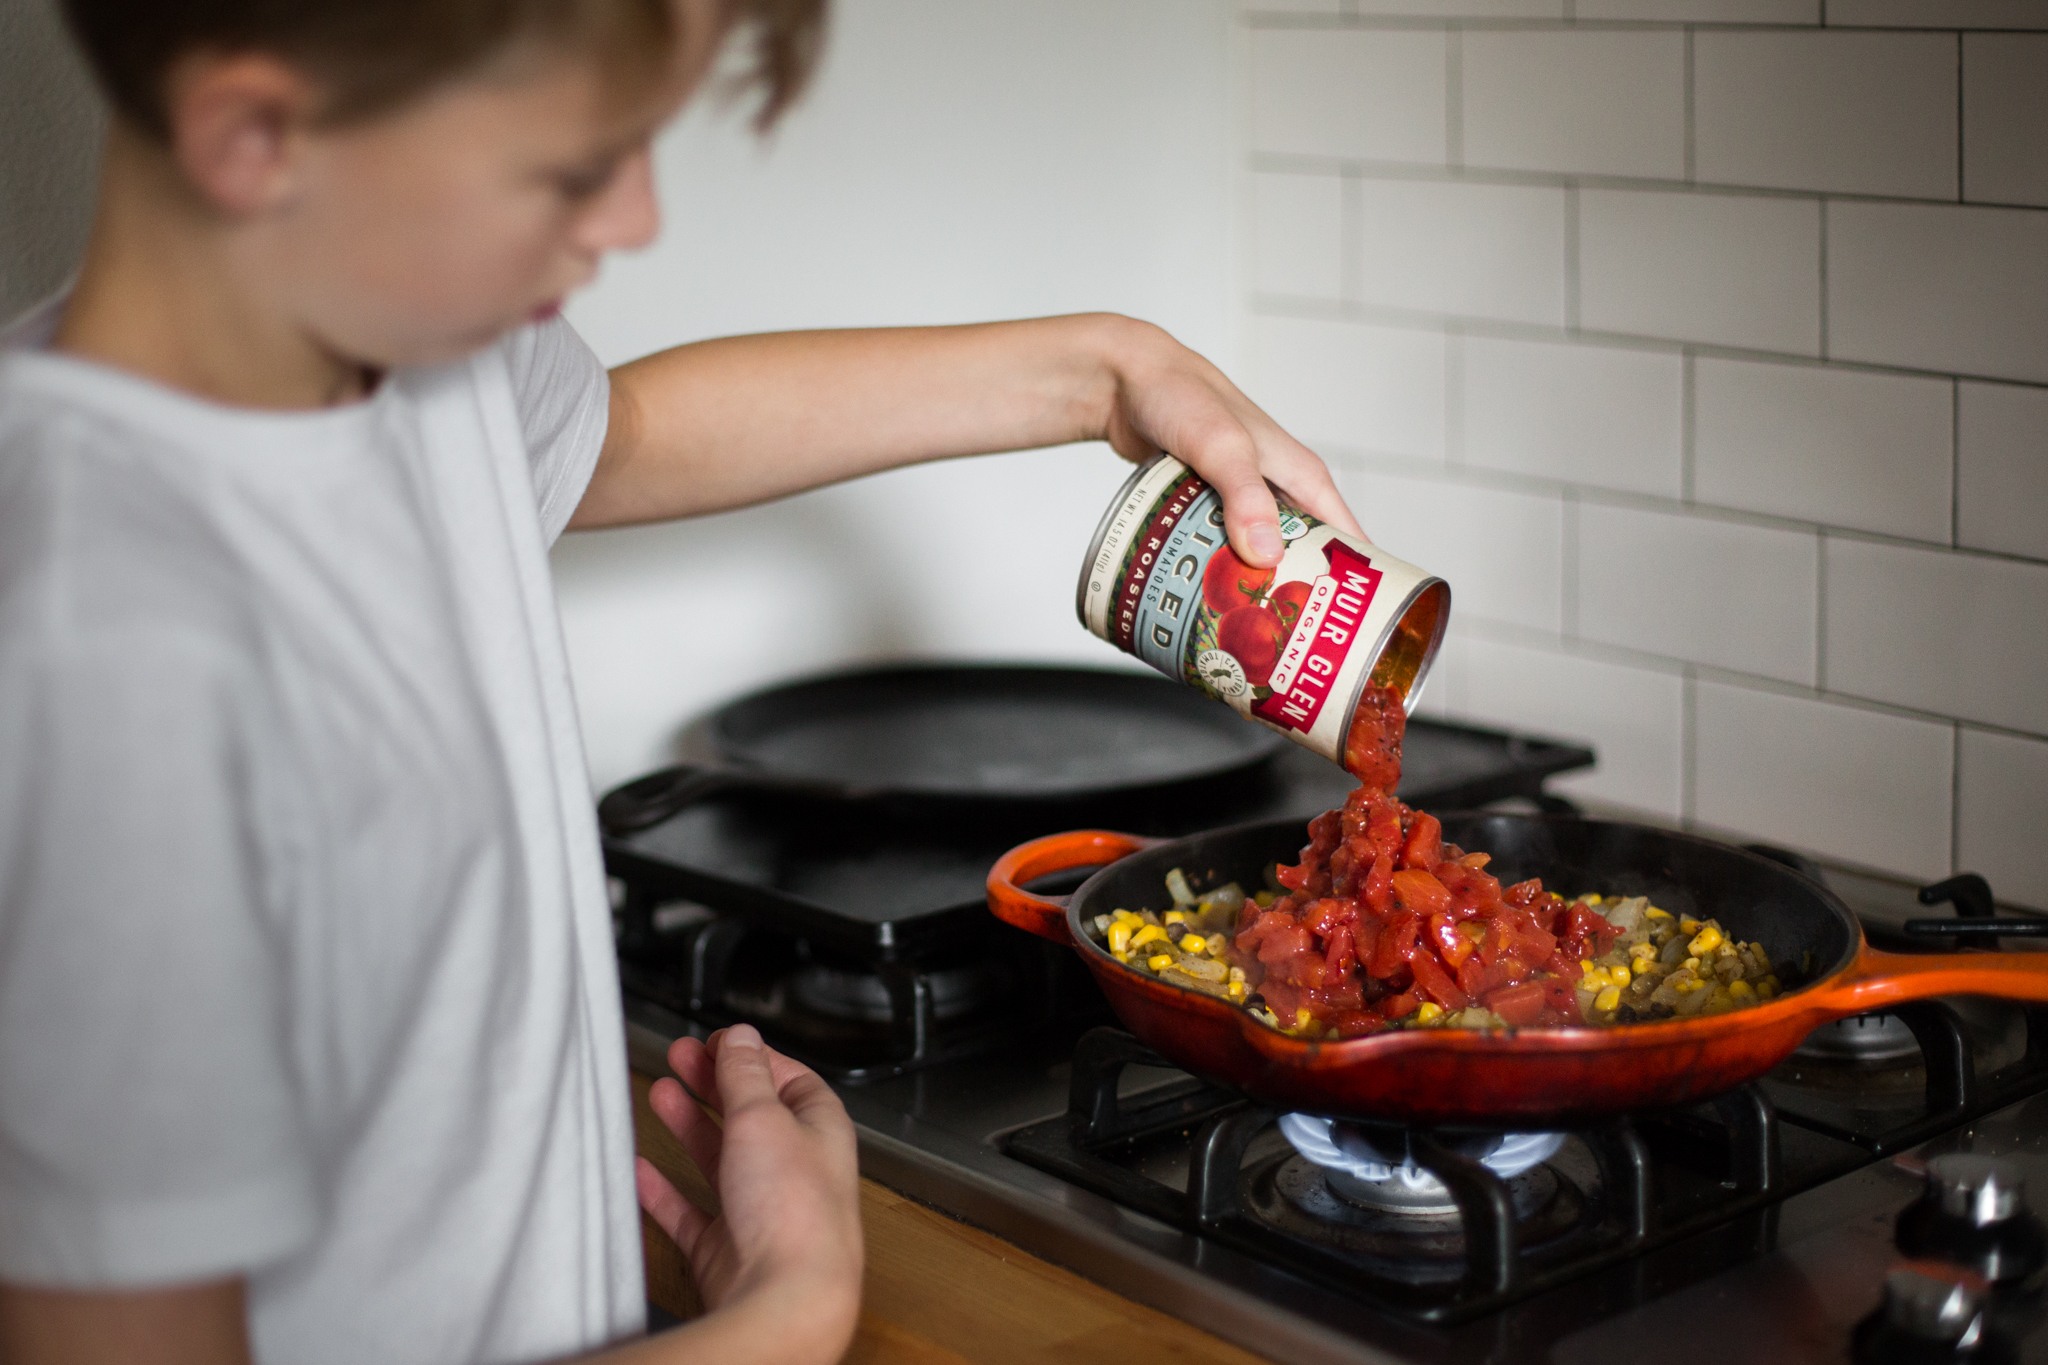
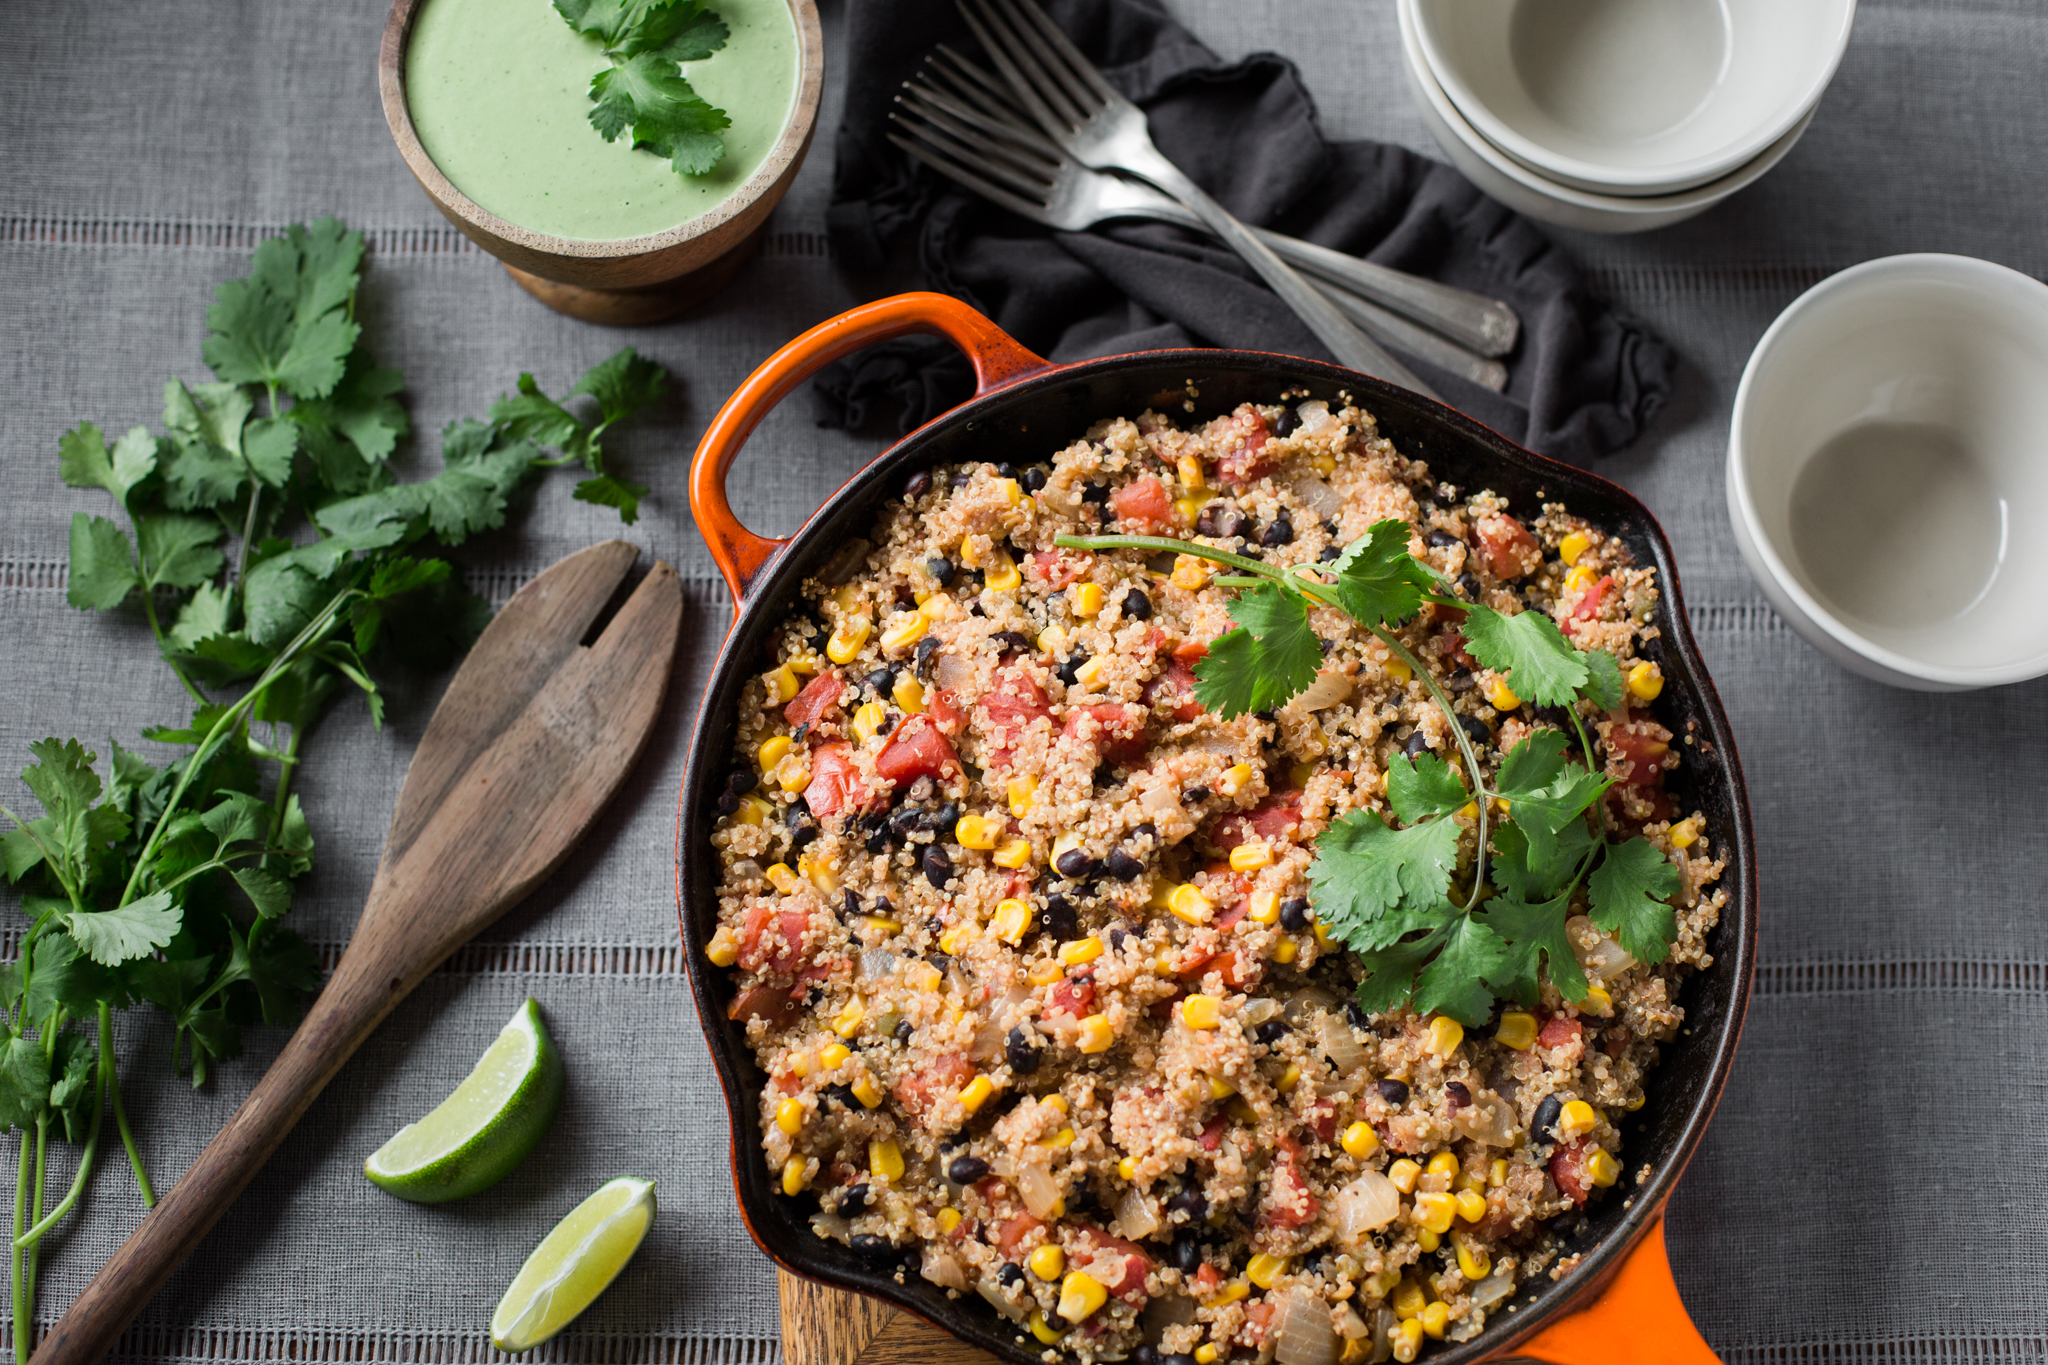
Add olive oil to a large cast iron skillet over medium heat. Once hot, (but not smoking) add cumin seed and stir. Add diced yellow onion and cook, stirring a few times until onions become translucent but not browned. Add drained corn, chili powder, crushed coriander seed, pinch of salt, diced green chilis, garlic and diced tomatoes in their juices. Stir until combined and cook for a few minutes. Once simmering, add a squeeze of lime and the rinsed black beans and gently stir until combined. Pour the rinsed and strained quinoa on top and slowly pour water over the mixture. Gently fold the mixture together, then cover with a lid and simmer over low heat until the quinoa is tender…approximately 30-40 minutes.
Serve hot and drizzle the Cilantro cashew dressing on top.
Cilantro Cashew Dressing:
3/4 Cup raw cashew soaked for at least one hour and then drained
5 slices of jalapeño (more or less to taste)
juice from 1/2 lime
1/2 Cup filtered water
1/2 Cup cilantro packed
1 clove garlic
pinch of sea salt (more to taste)
Soak cashews in water for at least one hour. Drain and rinse. Add all ingredients to a high powered blender and blend until a smooth, creamy consistency is reached. Add more water, 1 Tbs at a time if you need to thin it more.
 A few helpful tips for photographing food…
Light:
For this recipe I used my table that sits close to a large window with a good amount of diffused light…meaning there wasn’t any direct sunlight creating hot spots. For each image, I set the food so that it would be either side lit or back lit. I also used a reflector to bounce some light back into the shadows. This creates a softer look with more even highlights/shadows. I don’t use a reflector every time I shoot food, but it is a good tool if you’re wanting an overall brighter image.
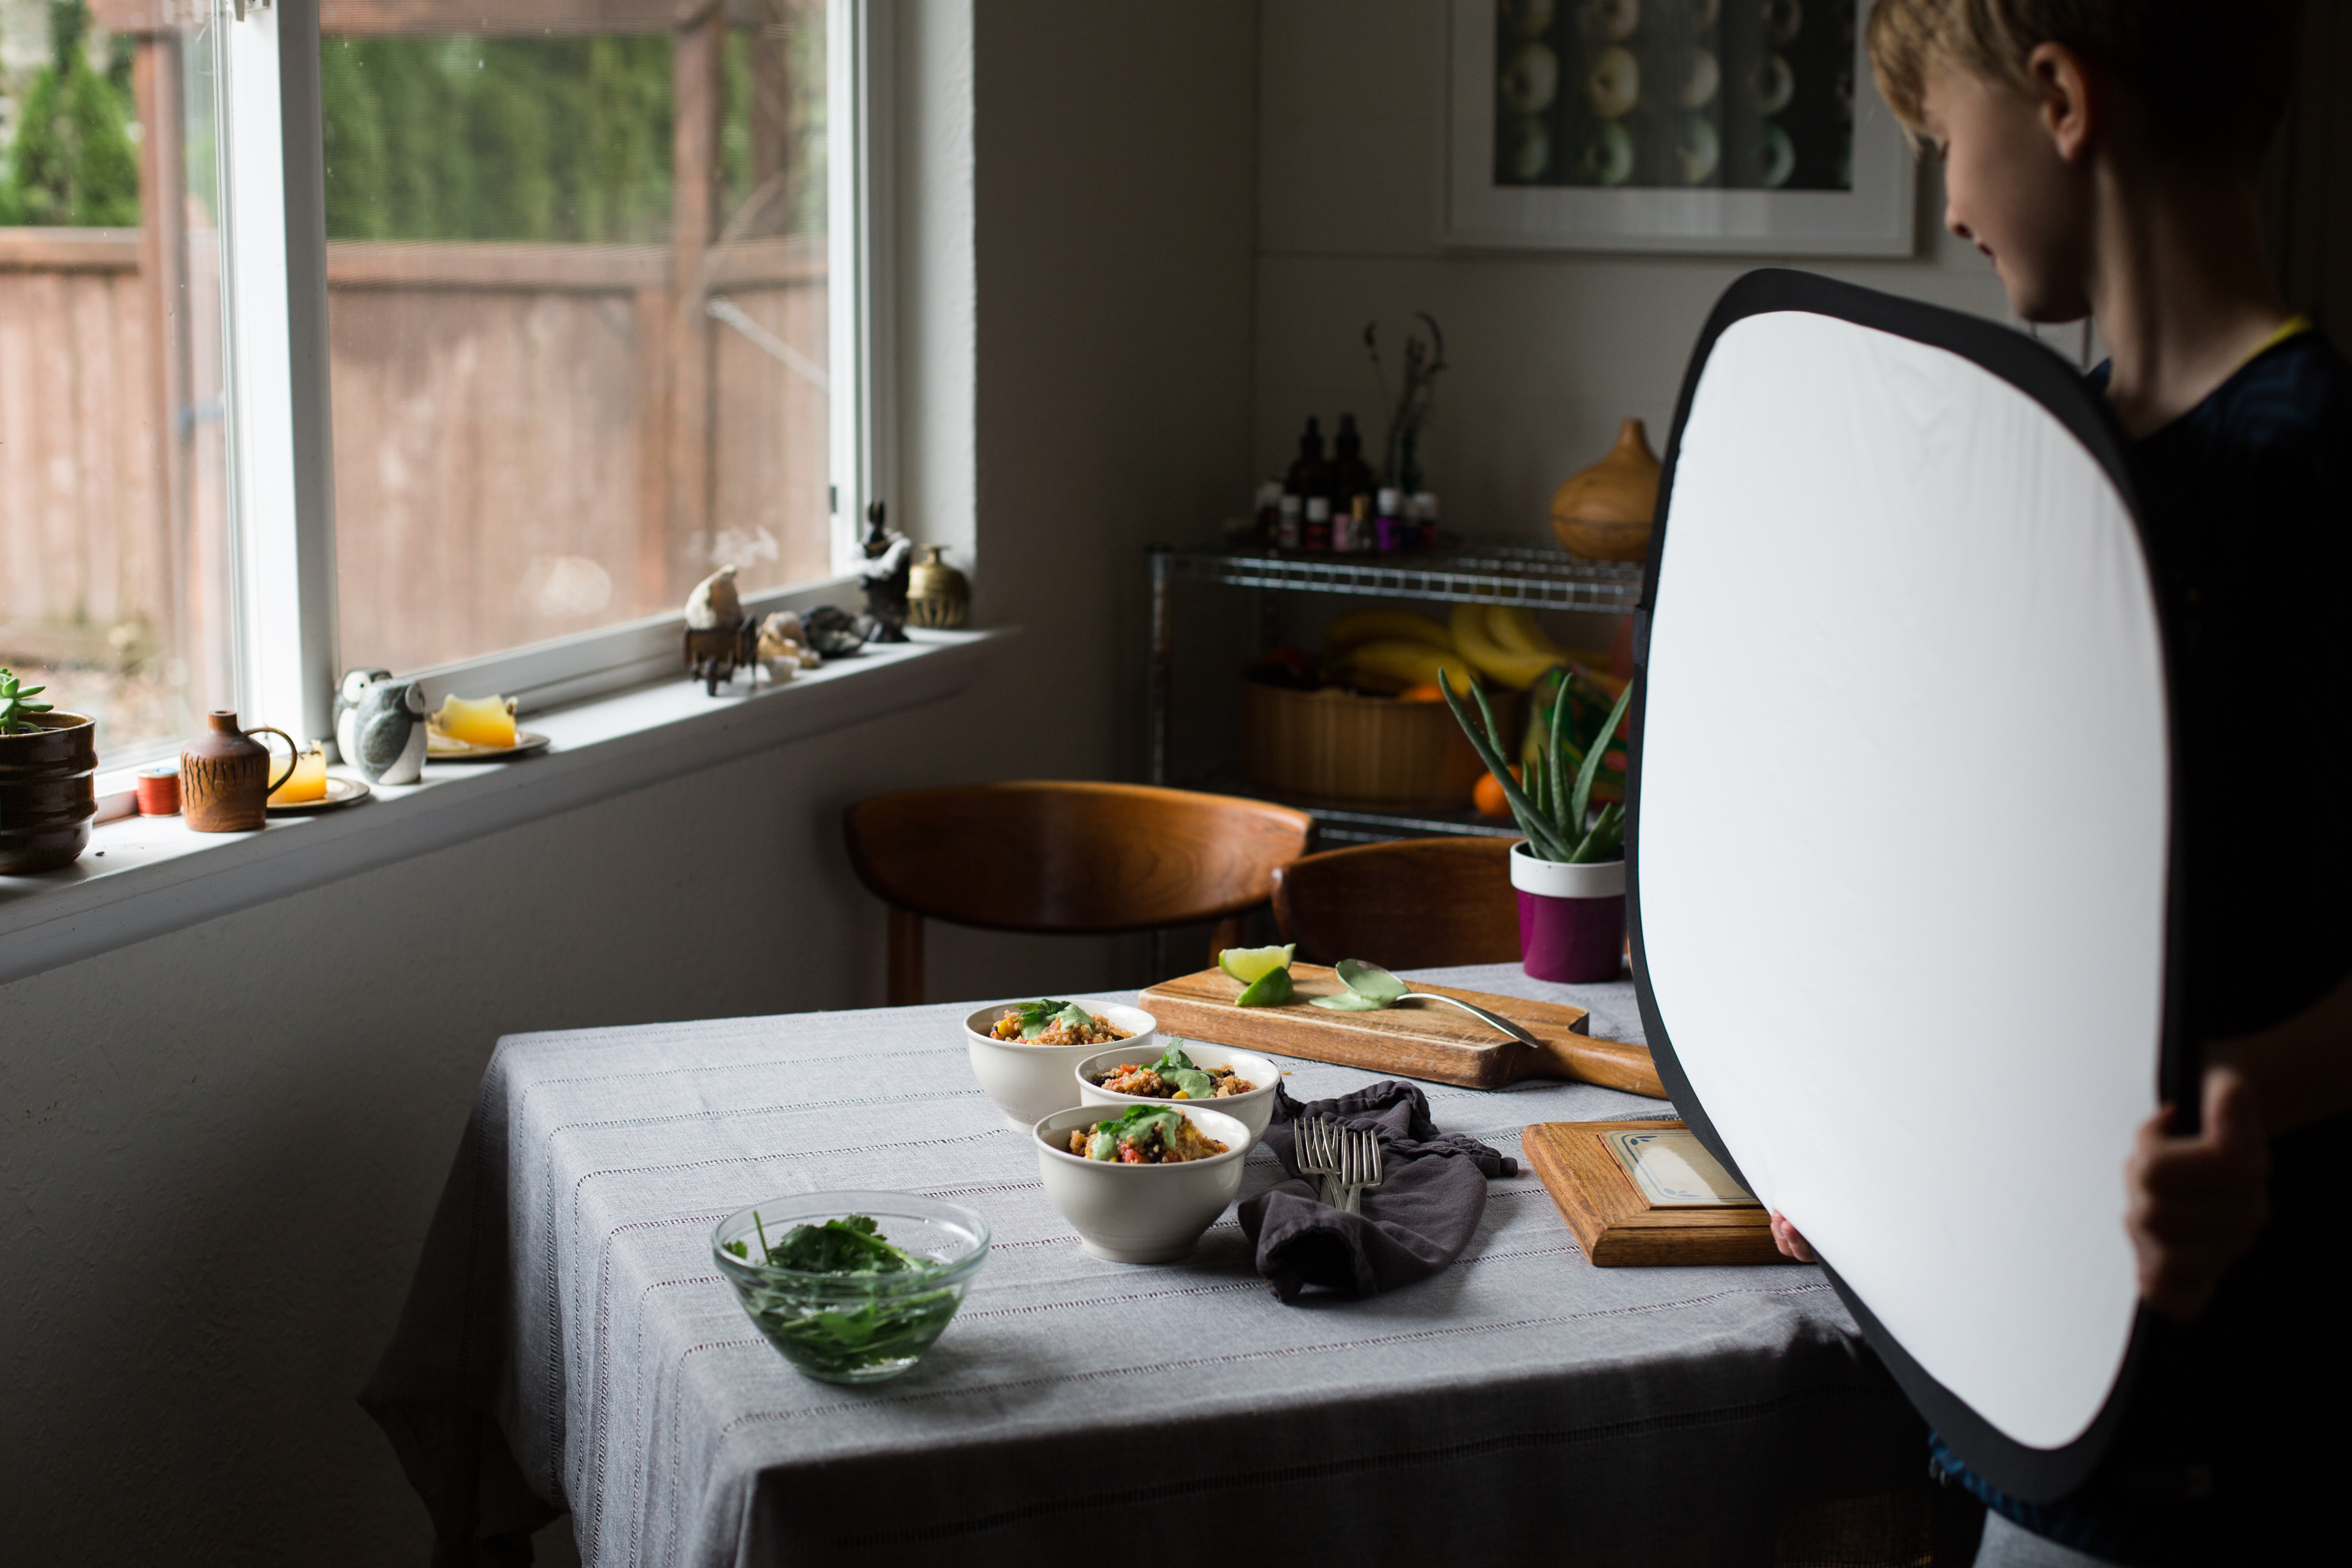 In these two images below, you can see the difference between no reflector (left) and adding one (right). These were shot with the exact same camera settings but they have completely different looks because of that extra light bouncing back.
 Appeal:
When photographing food, you always want to make sure it looks appetizing. There are so many variables depending on what’s in front of you…light plays a big role in appeal! For this recipe, one of the elements I payed attention to was my garnish. I wanted to prevent the cilantro from wilting, so I kept a bowl of cold water nearby and soaked it until I was ready to top the food. Hot food will cause your garnishes to wilt faster, so this is a good place to start when trying to add appeal to your final image.
 Storytelling and Perspectives:
When you’re photographing a dish, it pays to spend a little extra time and make a variety of images. You can photograph ingredients, food prep with movement, cooking, food in serving dishes and finally, individual servings. It’s not necessary to photograph a complete food story every time, but if you’re already set up, you may as well create images of more than just one perspective. I personally like to have a good variety to choose from when I start working in Lightroom.
 I could go on all day, but if you’d like to dive deeper into food photography both on and off the table, I teach a really fun and interactive online course. FOOD AS ART is a two week class through Illuminate where you’ll learn everything you need to know about the subject! Winter REGISTRATION is currently open if you’d like to join! And in the meantime, if you want even more photography tips, you can grab some freebies HERE!
Be the first to comment